How To Install Clearview Fencing: Everything You Need To Know
How To Install Clearview Fencing: Everything You Need To Know
A Step-By-Step Clearview Installation Manual
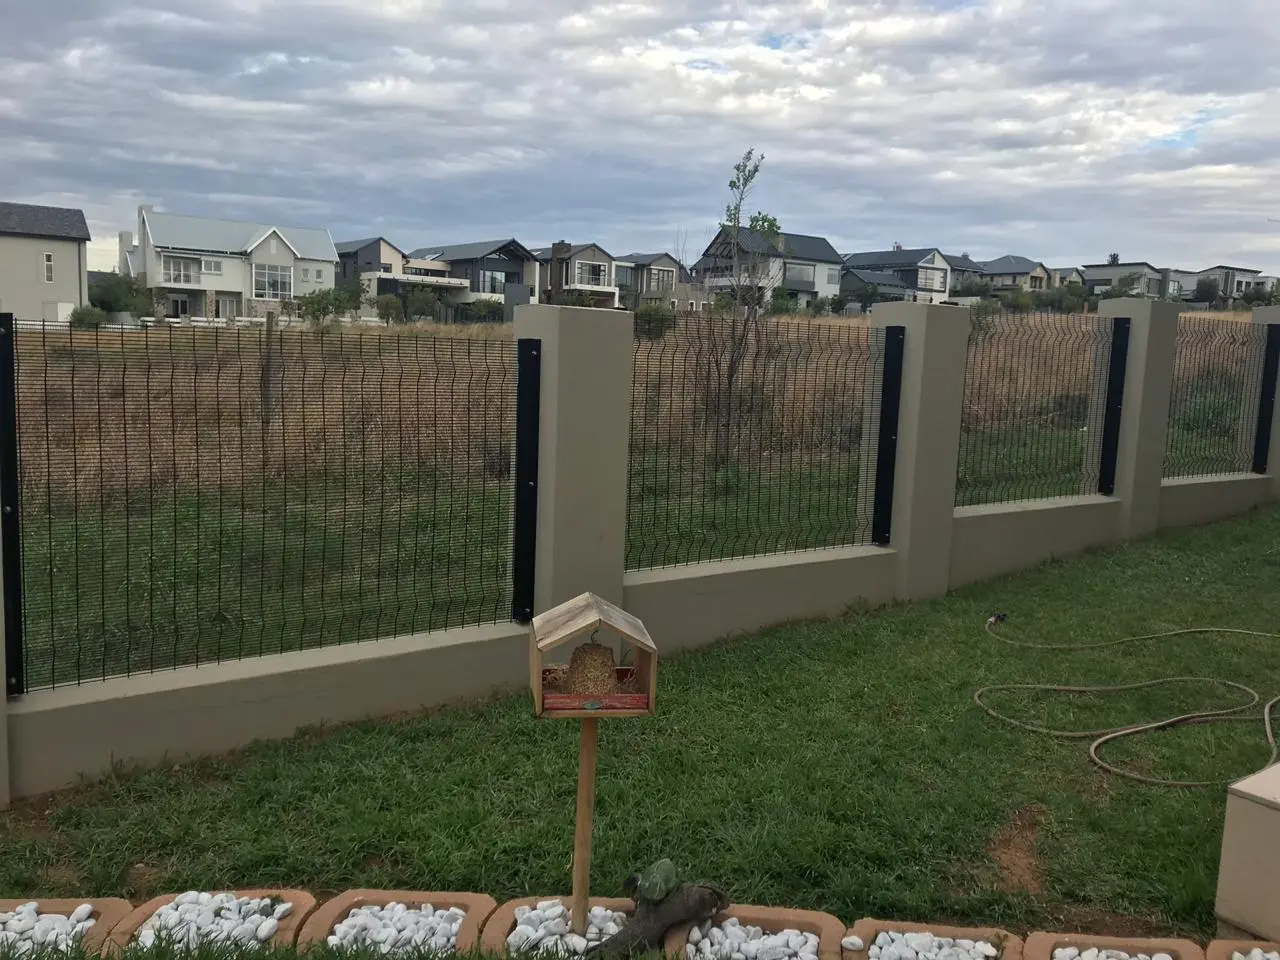
Are you considering installing a Clearview fence to enhance the security and aesthetics of your property? Clearview fencing is a popular choice for residential and commercial applications due to its durability, versatility, and transparent design. In this step-by-step guide, we will walk you through the process of installing Clearview fencing to help you achieve a successful and professional-looking result.
Step 1: Preparation
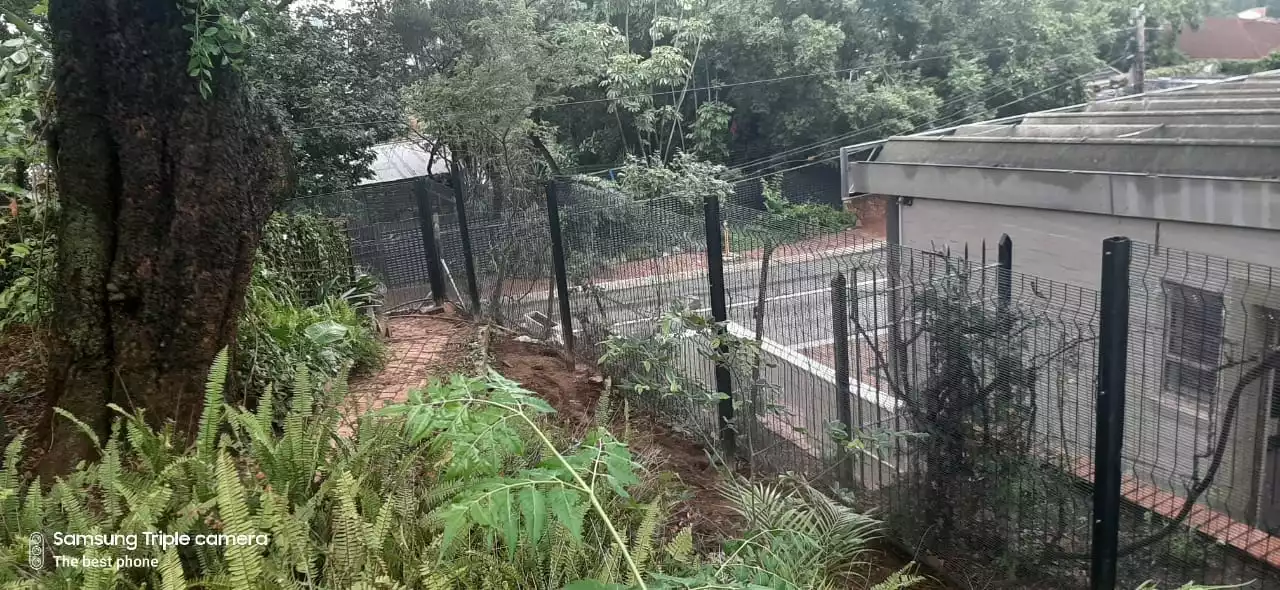
Before you start the installation process, it’s crucial to make adequate preparations. Here are some important steps to follow:
1. Check local regulations: Ensure that you comply with any local regulations or permits required for installing a fence on your property. Contact your local authorities or homeowners’ association to obtain the necessary information.
2. Determine your property boundaries: Before installing the fence, it’s essential to establish the boundaries of your property. Use a property survey or consult with a professional if needed to ensure your fence is installed within your property lines.
3. Gather the required tools and materials: To complete the Clearview fence installation, you will need a few essential tools and materials, including a measuring tape, string or chalk line, shovel or post hole digger, concrete mix, water, Spirit Level, fence panels, fence clips, screws, and a screwdriver or drill.
Step 2: Dig The Holes For The Fence Posts
Once you have prepared the necessary tools and materials, it’s time to dig the holes for the fence posts. Follow these steps:
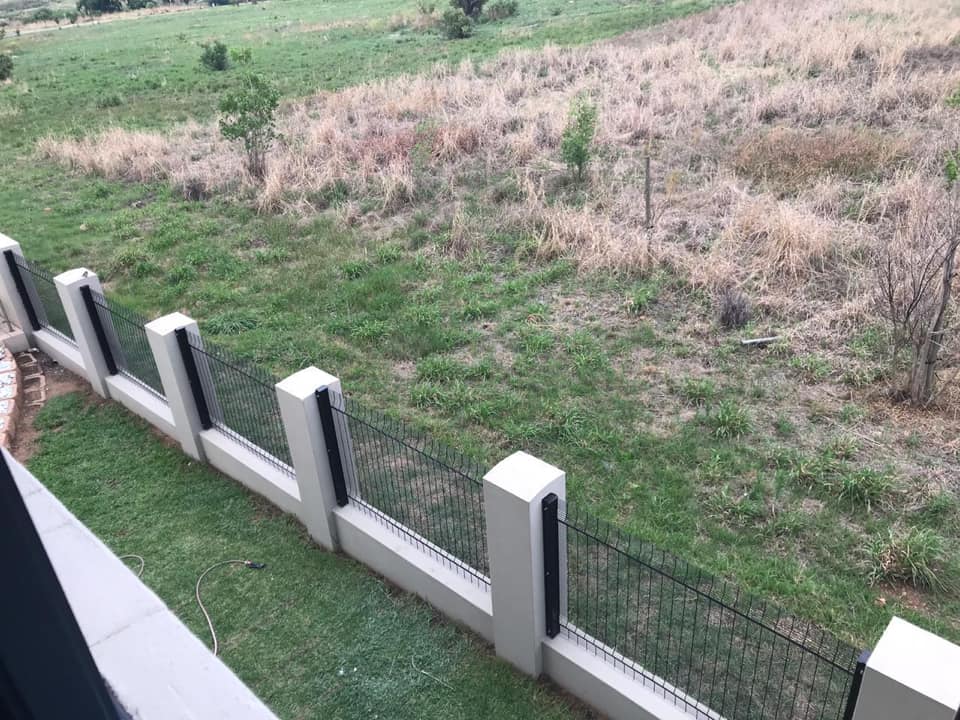
1. Mark the hole locations: Measure the distance between each fence post and mark the spots with a string or chalk line. Make sure the measurements are accurate and consistent to ensure a straight and even fence installation.
2. Dig the holes: Use a shovel or post-hole digger to dig holes at the marked spots. The depth of the holes will depend on the height of your fence and local building codes. As a general guideline, aim for holes that are about one-third the height of the fence.
3. Keep the holes evenly spaced: Ensure that the distance between each hole is consistent, typically 6 to 8 feet apart. This will help maintain the structural integrity of the fence.
Step 3: Installing Clearview Fences With Posts & Concrete
With the holes dug, it’s time to install the fence posts and secure them with concrete:
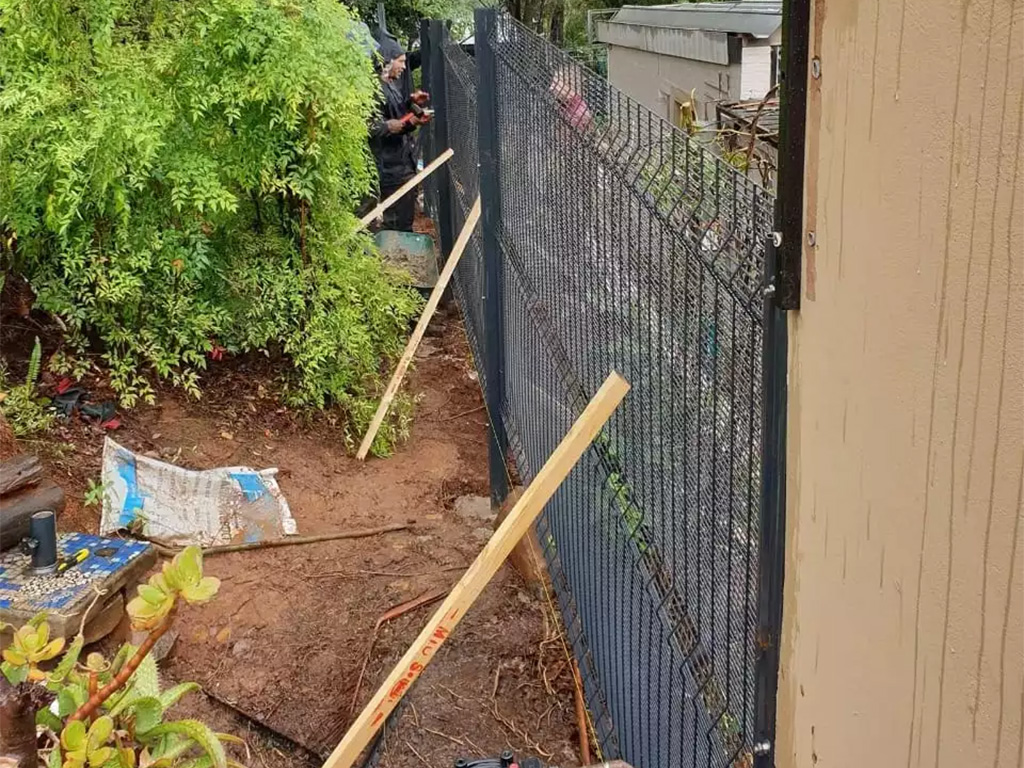
1. Insert the fence posts: Place the first fence post into one of the holes. Ensure it is straight and level using a level tool. Add temporary bracing to hold the post in position until the concrete sets.
2. Mix and pour the concrete: Follow the instructions on the concrete mix package to prepare the concrete. Fill each hole with concrete, making sure it completely covers the base of the post. Use a level to ensure the post remains straight while the concrete sets. Repeat this process for each fence post.
3. Allow the concrete to cure: Check the concrete package for recommended curing times. It’s essential to allow the concrete to cure fully before proceeding to the next step. This usually takes around 24 to 48 hours.
Step 4: Installing The First Clearview Fence Panel With Clips
With the fence posts securely in place, it’s time to install the first Clearview fence panel:
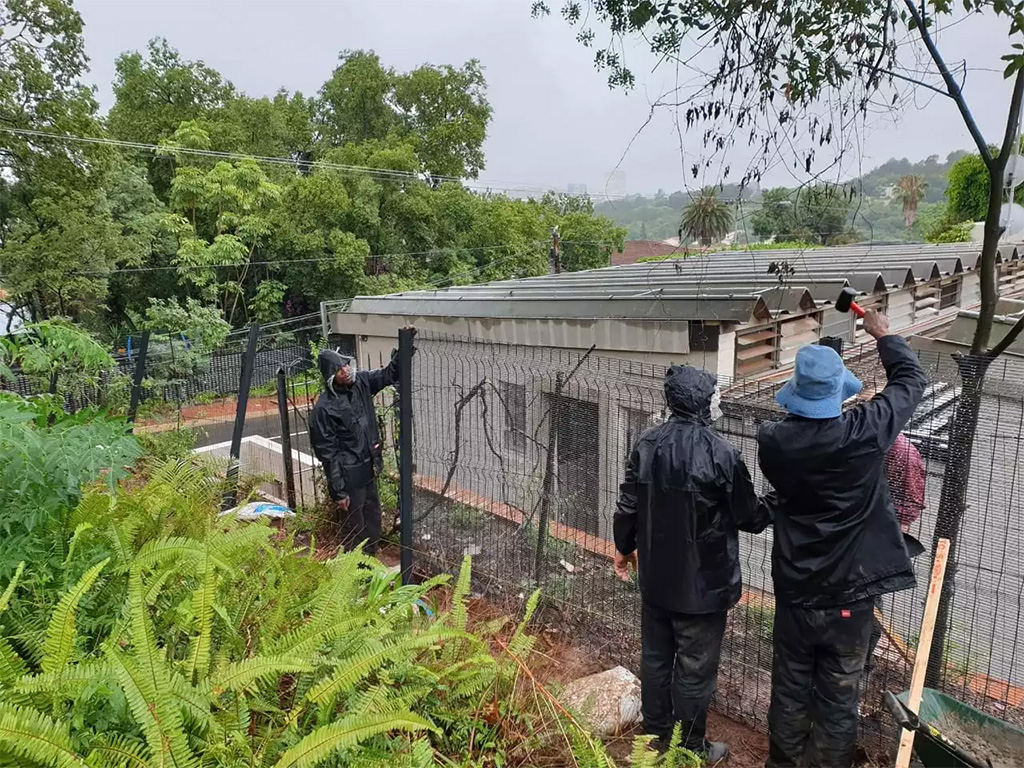
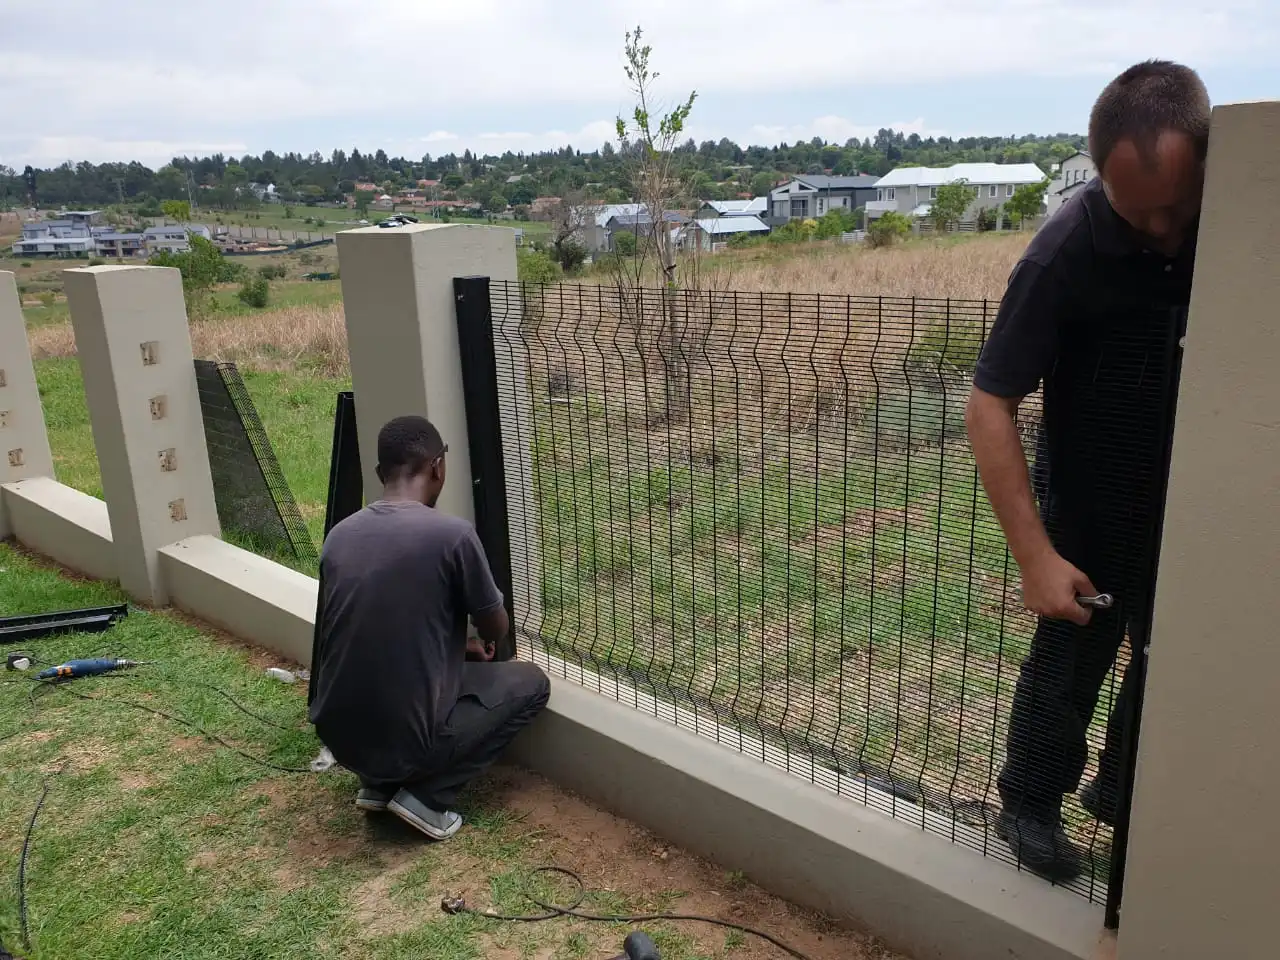
1. Attach the clips to the first post: Position the Clearview fence panel against the first fence post, ensuring it is level and aligns with the ground. Use fence clips to attach the panel to the post securely. Make sure to follow the manufacturer’s instructions for proper clip placement.
2. Secure the panel to the post: Use screws and a screwdriver or drill to fasten the fence panel to the clips. Make sure the panel is securely attached but avoid overtightening, as this can damage the panel.
Step 5: Install The Remaining Panels
With the first Clearview panel installed, continue the process to install the remaining Clearview fence panels:
1. Position the next panel: Align the next fence panel with the first one, ensuring it is level and evenly spaced. Use fence clips to attach the panel to the corresponding fence post.
2. Secure the panel: Use screws and a screwdriver or drill to fasten the panel to the clips, just as you did with the first panel. Repeat this process for each additional panel until you have completed the Clearfence installation.
Step 6: Fix The Fence
Once all the panels are installed, take the time to inspect the fence and make any necessary adjustments or fixes:
1. Check for levelness and alignment: Use a spirit level tool to ensure that the fence panels are straight and level. Adjust the clips or screws if needed to achieve a uniform appearance.
2. Trim excess panel length: If any panels extend beyond the desired length, use a saw or cutting tool to trim them to the appropriate size. Ensure that the trimmed edge is smooth and doesn’t pose a safety hazard.
3. Inspect for loose components: Double-check that all screws, clips, and fasteners are securely in place. Tighten any loose components to ensure the structural integrity of the fence.
By following the steps outlined in this guide and taking the time to properly install your Clearview fence, you can enjoy the benefits of increased security, enhanced privacy, and an attractive addition to your property. Take pride in your installation and enjoy the results for years to come.
Need Help With Your Clearview Fence Installations?
Installing Clearview fencing can be a rewarding DIY project, but it may also require expertise and experience to achieve optimal results. If you’re unsure about any step in the installation process for Clearview fences or need assistance, don’t hesitate to seek professional help. That’s where 0861 Clearview comes in, our team of handy Clearview fencing contractors can carry out the fencing installation for you! Contact us today and receive an instant quote on all Clearview fence installs today!


